


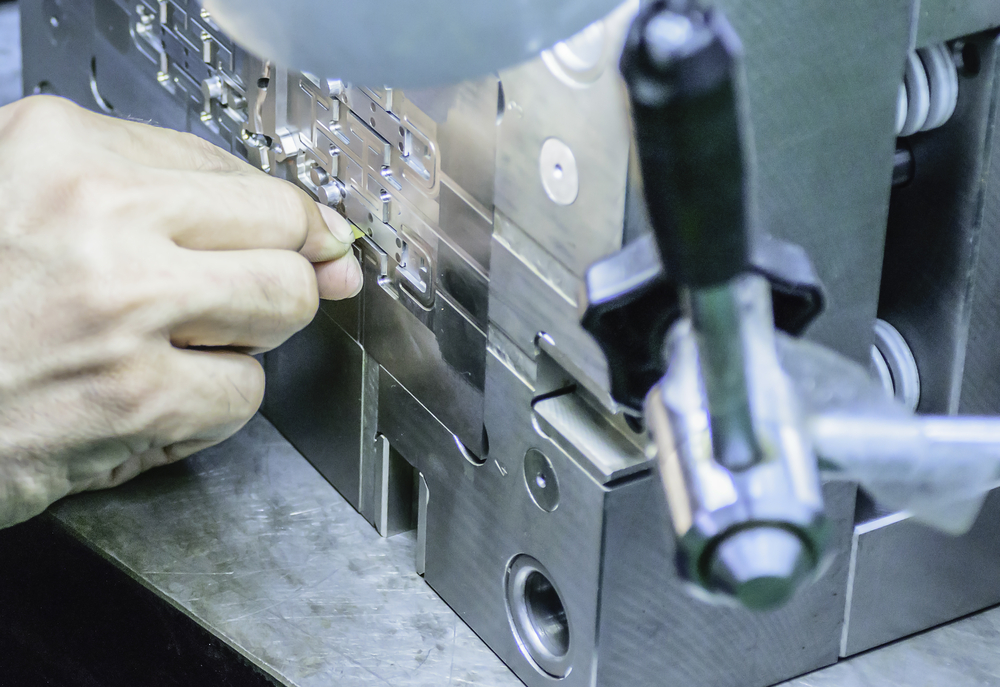
Mold polishing is an essential process in the plastic mold industry. This method heavily impacts the quality and aesthetics of the molds. The process typically involves tools such as oil stones, sandpaper and polishing paste to grind the cavity surface of the mold. The goal being to achieve a brighter and smoother surface as a mirror.
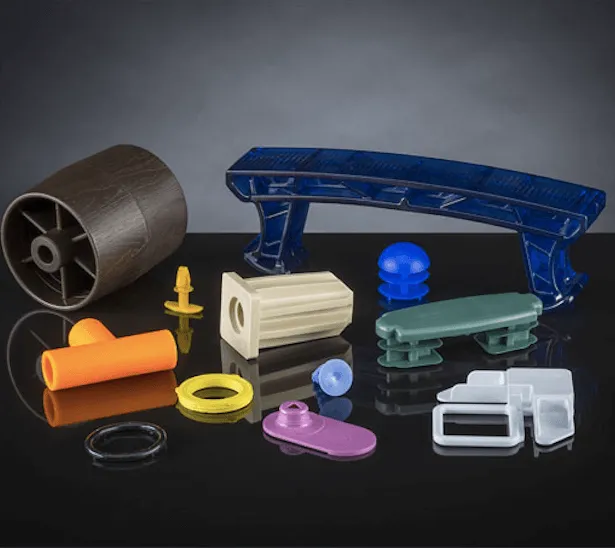
With the increased use of plastic products, the demand for high-quality appearance has increased. Similarly, the surface quality of these mold cavities have to meet the highest standards. Molds for producing mirrors and high-gloss surfaces require optimum levels of polish to achieve the necessary surface clarity.
Additionally, mold polishing provides benefits extending past aesthetics. A polished mold surface improves the material’s ability to resist corrosion and wear. This increases the molds’ lifespan and maintains its quality after repeated use.
Moreover, polished molds streamline incoming injection processes. They simplify demolding of plastic products, which not only ensures the integrity of the products but also minimize production cycle times. This coherence is important for manufacturers aiming for optimized production and reducing costs.
Understanding Mold Polishing
Mold polishing is a method that achieves a smooth surface by slicing and deforming the material’s surface. This process involves removing the convex parts of the polished material. Common tools for this task are whetstone strips, wool wheels and sandpaper. Usually, mold polishing happens manually. For special parts like the surface of rotating bodies, auxiliary tools such as turntables are used.
For higher surface quality, super-finishing polishing is applied. This involves utilizing special grinding tools and a polishing liquid with abrasives. The tools rotate at high speeds as they are pressed on the workpiece’s surface. This technique is predicted to achieve a surface roughness of Ra0.008um. It’s often used for optical lens molds due to its highest work rate among various polishing methods.
Difference Between Polishing and Other Surface Finishing Processes
Plastic mold polishing methods greatly differ from polishing methods in other industries. During mold making, polishing is accurately termed as mirror processing. With its high standards, Mold polishing offers surface smoothness, geometric accuracy and quality polishing. Whereas other generic industry methods only aim for a bright surface.
Mirror processing is classified into four levels:
- A0 = Ra0.008um
- A1 = Ra0.016um
- A3 = Ra0.032um
- A4 = Ra0.063um
Attaining precise geometric finishes with methods like electrolytic polishing, chemical polishing, fluid polishing, ultrasonic polishing and magnetic grinding is quite challenging. Often, these methods fail to meet the needed surface quality for precision molds, thus mechanical polishing remains the only viable method for mirror processing of precision molds.
Some of the advantages of mechanical polishing are monitored control over surface smoothness and geometric accuracy. This method ensures that the mold’s surface meets the high standards required for plastic molds. The polished mold surfaces directly translate to standards required for plastic molds with smooth attractive finishes. Additionally, polished molds reduce production cycle times and improve efficiency.
Types of Mold Polishing Techniques
Polishing is crucial in mold making and it is done in various mold polishing techniques as described below:
1. Mechanical Polishing
Mechanical polishing is common and direct. It involves the physical rubbing of the mold’s surface to smoothen it out.
- Abrasive Stones: These stones come in different grits. They eliminate material from the mold surface, beginning with rougher grits and completing with finer ones.
- Sandpaper and Emery Cloth: Used similarly to abrasive stones, sandpaper is for finer work while the emery cloth is more flexible and can polish curved surfaces.
- Buffing and Polishing Wheels: These tools use cloth or felt wheels with polishing compounds. They achieve a mirror-like finish on the mold surface.
2. Chemical Polishing
Chemical polishing uses chemicals to smooth the mold surface. It includes the use of techniques such as:
- Electrolytic Polishing: it uses electric current and a chemical solution to remove material from the mold. It offers a smooth and shiny surface.
- Chemical Etching: Chemicals are applied to the mold surface to dissolve irregularities. This method is precise and can curate detailed finishes.
3. Ultrasonic Polishing
Ultrasonic polishing is termed as advanced and precise. It makes use of ultrasonic vibrations to polish the mold.
In this method, the mold is immersed in a liquid medium and ultrasonic waves cause microscopic bubbles to form and collapse. This action withdraws material and smooths the surface for intricate and delicate molds.
4. Laser Polishing
Laser polishing is deemed as a high tech method that releases a laser beam on the heat surface, melting it slightly. As the surface becomes cooler, it is smoothened. This method is usually precise and improves the mold’s hardness and durability.
5. Electro-Polishing
Electro-polishing is more or less similar to electrolytic polishing but focuses on metal surfaces. It involves submerging the mold in an electrolyte bath and supplying it with an electric current to remove a thin layer of material. This results in a smooth and shiny finish. It is used for complex and delicate molds, providing a high-quality finish.
Polishing Tools and Materials
To polish molds, specific tools and materials are used. Most commonly used tools include stones, polishing compounds and files.
- Files are great for removing large defects and shaping the mold. They are available in various sizes and shapes for use.
- Stones come in different grits which determine how rough or fine the polishing will be.
- Rough stones are used first in removing more material. Finer stones are later used for complete, smooth finishes.
Polishing compounds are central in producing high quality surfaces. They are applied to polishing wheels or cloths. They provide mirror-like finishes by removing minor scratches. The appropriate polishing compound is dependent on the mold material and projected smoothness.
Choosing the right abrasives is really important. Mainly, abrasives are materials used in wearing down the surface through friction. On the other hand, grit determines how coarse or smooth the polishing should be and is affected by size. Lower grit sizes are coarser and remove more material vis-a-vis.
Different Types of Abrasive Materials are Used in Mold Polishing
- Aluminum oxide: It’s a common abrasive that is durable and effective.
- Silicon carbide: It is known for its hardness and sharpness.
- Diamond abrasives: With their strong nature, they are used for extremely hard materials providing the finest finishes.
As the choice of an abrasive material depends on the mold material and the intended finish, these materials have specific advantages.
Polishing Steps and Procedures
To achieve the smooth, high-quality surface, polishing molds usually involve several steps. The process includes initial surface preparation and sequential polishing stages.
Initial Surface Preparation
Before polishing, the mold surface is supposed to be cleansed free of debris. This ensures no dirt particles scratch the surface during polishing. Using a degreaser or other cleaning solutions in removal of any grease or oils. Conduct an inspection of the molds for any imperfections or damage and repair or smoothen them before starting the polishing process.
Coarse Polishing
This is the first stage and it typically involves removing large rough spots. This is done by coarse grit abrasive stones or files for this step. Apply steady pressure working evenly across the surface. The goal is to have a uniform rough surface, ready for finer polishing stages. After coarse polishing, clean the mold to remove any debris or residue.
Intermediate Polishing
The next stage is intermediate polishing that uses medium grit abrasives stones or sandpaper. The rough surfaces left by coarse polishing are smoothened out here. Work the entire surface evenly to reduce visible scratches and deformations. At this point, the mold should start feeling smoother. Clean the mold again after this stage to remove any polishing debris.

Fine Polishing
It’s the final stage where a smooth, mirror-like finish is created. To achieve this level of smoothness, fine-grit abrasive stones, sandpaper or polishing compounds are used. Buffing wheels or cloths also offer an added advantage when used with polishing compounds. Take your time to achieve the desired finish working evenly across the surface.
Best Practices for Effective Mold Polishing
To achieve best results in mold polishing, here are some key practices to follow:
Consistency and Precision
Polish the mold evenly using consistent pressure and movement. Avoid focusing on a single spot too long hence preventing uneven surfaces. Frequently check your progress so as to maintain precision and ensure the entire surface is polished uniformly.
Maintaining Tool Cleanliness
Regularly clean your tools using a cleaning solution or degreaser since dirty tools can scratch the mold. This removes any residue from the previous use. Ensure your compounds are free from contaminants and store them in clean, sealed containers.
Proper Handling and Storage of Polishing Tools
Handle tools carefully to avoid damage and store them in a dry clean place. Keep abrasive stones and sandpaper in their original packaging as this protects them from dust and moisture. Proper storage extends the life of your tools.
Safety Measures During Polishing
Always put on safety gear including gloves to protect your hands, safety goggles to protect your eyes from dust and debris. Working in a well-ventilated area prevents inhalation of harmful particles. If necessary, use a dust mask.
Ensure your work area is well luminated as good lighting helps you see imperfections clearly. Keep the work area organized to prevent accidents and use tools designed for mold polishing. Avoid makeshift solutions that could be unsafe.
Challenges and Solutions in Mold Polishing
Mold polishing possesses several challenges. Some of the common issues and solutions include:
Common Issues
1. Surface Defects
Frequent occurrences of scratches, pits, or gouges affects the surfaces. These defects can result in an overall low quality of the final product . They are often caused by using tools improperly or contaminated polishing compounds.
2. Inconsistent Finishes
This problem results in uneven surfaces. This problem usually stems from uneven pressure applied or unapplicable techniques of polishing leading to parts with varying quality.
3. Tool Wear
Over time, polishing tools wear out and thus they become less effective which can lead to damaged mold surfaces. This issue slows down the polishing process and reduces the quality of the final product.
Techniques to Overcome Challenges
Here are some techniques to solve the above issues:
1. Regular Maintenance
Maintaining your tools on a regular basis helps prevent contamination and increase tool performance. Conduct inspections for wear and replace them as needed. Storing the abrasive materials properly ensures that they are in good conditions.
2. Correct Technique Application
Ensure you use the right techniques for each polishing stage, starting with coarse polishing to reme large anomalies. Proceed to intermediate polishing for smoother surface and finalize with fine polishing for clear, mirror-like finishes. Be sure to apply even pressure and to move the tools consistently across the surface, Frequently check your uniformity progress.
3. Dealing with Surface Defects
It is essential to stop and assess damage when a surface defect appears. Employ the use of finer abrasives in removal of minor scratches. For deeper defects, one might be required to begin the process again from the top. Ensure the polishing compounds are clean.
To attain consistent products, follow a systematic approach working in small sections and overlapping your strokes in a steady controlled movement.Regular cleaning to remove debris is also advised.
Quality Control in Mold Polishing
Quality control in mold polishing ensures a smooth and high-quality finish. Two main inspection methods are used: visual inspection and surface roughness measurement.
Visual Inspection
Visual inspection refers to taking keen and close looks at the mold surface checking for scratches, pits or uneven areas. Utilize good lighting to see clearly. Smaller defects can be spotted by using magnifying lenses. Ensure regular visual checks during polishing to help detect issues earlier.
Surface Roughness Measurement
Surface roughness measurement offers a precise evaluation of the mold surface using a surface roughness tester. The tester runs over the mold surface measuring its texture. It gives a numerical value representing the surface smoothness.
Lower values often indicate a smoother surface. Perform regular measurements to ensure the polishing process is on track. Finally, compare the readings to the desired roughness level.

Conclusion
Mold polishing is crucial for producing high-quality molded parts. It ensures smooth, aesthetic surfaces and facilitates swift demolding, enhancing production efficiency. Proper polishing improves the mold’s resistance to wear and corrosion thus increasing lifespan. You can achieve precise finishes that meet high standards for plastic products by applying the right tools and following best practices.